Last Updated: November 2, 2026
Quick Summary
To learn how to prepare outdoor taps for winter in Scotland, start in late October or early November, before the first hard frost. Turn off the indoor isolation valve, open the outside tap fully so it drains, and leave it open over winter. Then insulate exposed pipework with a properly fitted foam sleeve or tap cover.
- Act in late October or early November, before the first hard frost arrives.
- Close the indoor isolation valve fully, turning it clockwise until it stops.
- Open the outside tap fully and let it run dry before closing anything.
- Leave the outside tap open over winter so residual water can expand safely.
- Use foam sleeves sized to the pipe, taping every joint with PVC tape rather than masking tape.
Table of Contents
- Why Outdoor Taps Freeze in Scotland and When to Act
- How to Turn Off Water to an Outside Tap at the Indoor Isolation Valve
- How to Drain an Outside Tap for Winter, Step by Step
- Outside Tap Insulation: Covers, Foam and Exposed Pipework
- Different Outdoor Tap and Pipe Configurations
- What to Do If an Outside Tap Is Frozen
- Booking a Winter Check With Castle Rock Plumbing
- Frequently Asked Questions
Why Outdoor Taps Freeze in Scotland and When to Act
If you want to know how to prepare outdoor taps for winter in Scotland, start before the first frost arrives. Scotland's colder spells can hit outside taps and exposed pipework hard, and a burst pipe can cause serious water damage inside your home. This guide is intended to help Edinburgh and Lothian homeowners get ahead of the problem.
Outside taps sit on the outer wall, often with no insulation and little protection from the wind. Water left inside them expands as it freezes, which can split the tap body or the pipe feeding it.
Good times to act:
- Late October and early November, before the first hard frost
- After any forecast of temperatures near or below freezing
- Before you go away for an extended period over winter
Watch out: Do not wait for the first cold snap. A pipe that has already frozen may burst only when it thaws, which can flood the property hours later.
How to Turn Off Water to an Outside Tap at the Indoor Isolation Valve
The first step is to stop water reaching the outside tap. Find the indoor isolation valve, which is usually a small valve on the pipe where it enters the property, often under a kitchen or utility sink or in a cupboard near where the pipe comes through the wall.
Turn the valve clockwise until it is fully closed. If the valve is stiff, use a gentle, steady pressure rather than force.
- Look for a valve on the supply pipe feeding the outside tap
- Turn it fully off, clockwise
- Keep a note of where the valve is for next winter
How to Drain an Outside Tap for Winter, Step by Step
Draining is the step most homeowners get half-right. Turning the tap off at the wall is not the same as emptying the pipe, and any water left sitting in the run between the isolation valve and the tap can still freeze and split the pipe. Work through the sequence below in order, and do not skip the confirmation step at the end.
- Close the indoor isolation valve fully. Turn it clockwise until it stops. If it is a quarter-turn lever valve, the lever should sit across the pipe, not in line with it.
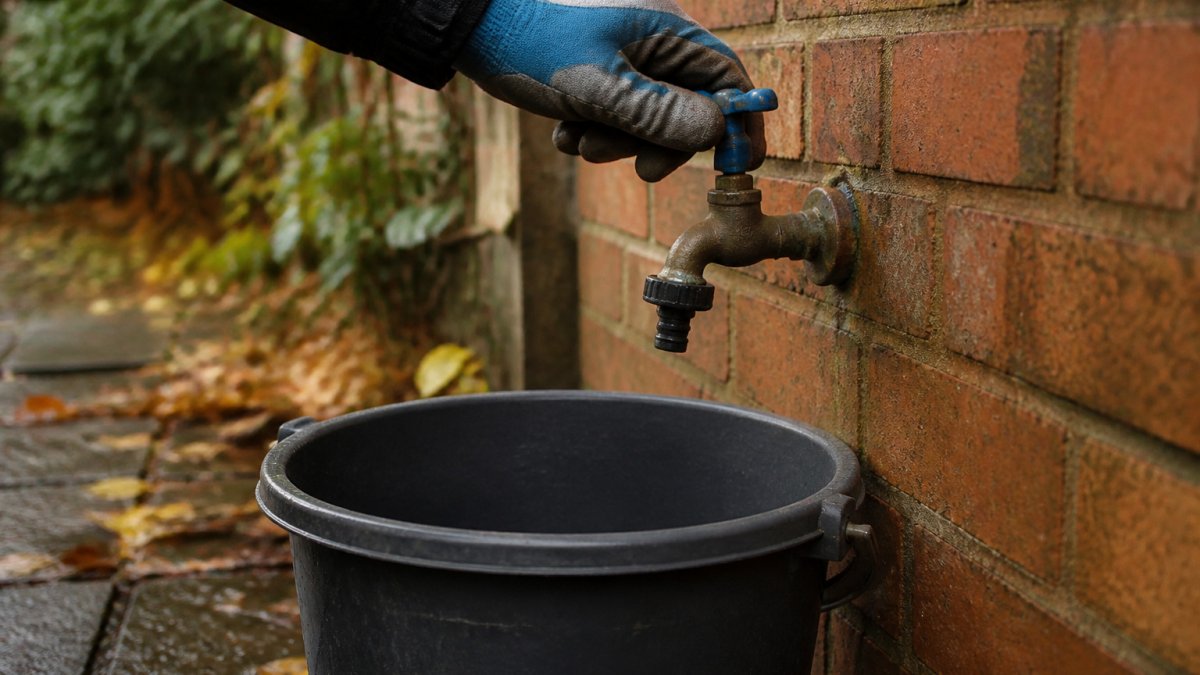
- Open the outside tap fully. Turn it anticlockwise as far as it will go, a half-open tap traps water in the body and the spindle gland.
- Let it run dry. Water will flow for a few seconds, then slow to a trickle, then stop. A slight drip for a minute or two is normal as the residual head drains out.
- Open any second outlet on the same run. If the pipe feeds more than one outside tap, open each one in turn so air can enter and the water can escape. A single open tap on a shared run can air-lock and hold water in the branch.
- Leave the outside tap open over winter. This is deliberate: if any residual water freezes and expands, it has somewhere to go rather than splitting the tap body. Close it only when you fit a cover, and reopen it if the cover is removed.
- Confirm the pipe has drained. With the tap still open, listen at the tap for running water, silence means the run is empty. If you can reach the indoor valve, crack it open for two seconds and close it again; you should hear a brief gurgle as air is drawn into the pipe, which confirms the run is open to the tap.
If you cannot find an isolation valve, do not simply lag the tap and hope. Some older properties, particularly tenements and conversions, have outside taps teed directly off the rising main with no local shut-off. In that case the only way to drain the run is to turn off the internal stopcock (usually under the kitchen sink or in a cupboard near the front door) and open every cold tap in the property, including the outside one, until they run dry. If the stopcock is seized or you cannot locate it, a plumber can fit an isolation valve on the outside branch, a small job that makes every future winter easier.
The draining sequence is easier to follow at a glance, so the key steps are summarised below.
| Step | What to do | Timing or note |
|---|---|---|
| 1. Close isolation valve | Turn clockwise until fully closed | Lever across the pipe if quarter-turn |
| 2. Open outside tap | Turn anticlockwise fully | Half-open traps water |
| 3. Let it run dry | Water flows, slows, then stops | Slight drip for a minute or two is normal |
| 4. Open second outlets | Open each tap on the same run | Prevents air-locking |
| 5. Leave tap open | Keep open over winter | Gives frozen residue somewhere to expand |
| 6. Confirm drained | Listen for running water at tap | Silence means the run is empty |
Outside Tap Insulation: Covers, Foam and Exposed Pipework
Insulation buys you time, not immunity. It slows heat loss from the pipe, but it cannot stop a hard frost from reaching an unlagged section, and it will not rescue a tap that still has water sitting in it. Insulate only after the drain-down steps above are complete.
Match the insulation to the pipe, not the other way round. Foam pipe insulation is sold by the internal diameter it fits, commonly 15 mm and 22 mm for domestic pipework. Measure the outside diameter of the pipe feeding your tap before buying; a loose sleeve with gaps at the joints lets cold air straight through and is barely better than nothing. Push the sleeve fully home, butt the ends tightly at bends, and tape every joint with PVC tape rather than masking tape, which goes brittle in frost.
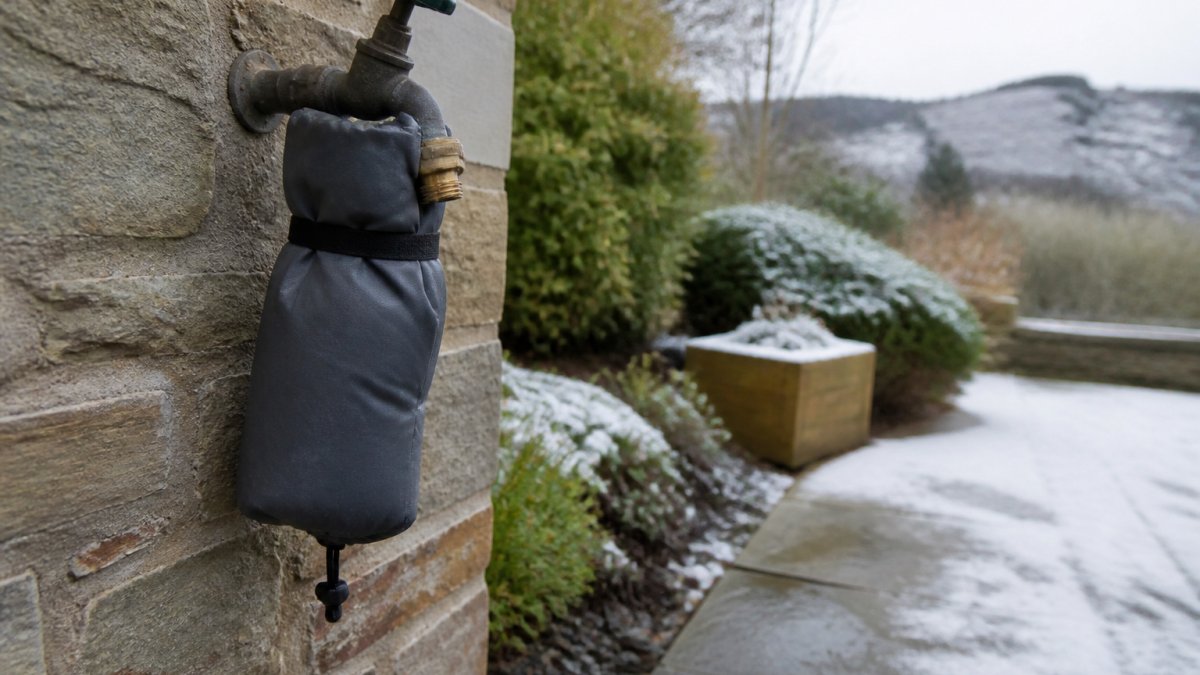
Tap covers fit over the tap body and spout and are the simplest option for a standard bib tap. Look for a cover with a closed cell foam lining and a drawstring or Velcro closure; an open-bottom cover that flaps in the wind offers little protection. Fit the cover over a tap that is closed, not left open, and check it is still seated after stormy weather.
Long exposed pipe runs, common on outbuildings, garages and the back of older stone-built properties, need more than a foam sleeve. Use a wall-mounted pipe thermostat or trace heating cable on runs over about three metres, or box the pipe in with insulated board. Where a pipe runs through an unheated outbuilding, isolate and drain that branch separately if it has its own valve.
Timing. Fit insulation in late October or early November, before the first hard frost, and check it again after any storm that could have dislodged a cover.
Different Outdoor Tap and Pipe Configurations
Not every outside tap is set up the same way. Some taps run from a pipe that branches off inside the property, while others connect through a separate supply line. Older Scottish homes, including tenements, often have older pipework that is harder to isolate and drain.
If you cannot find a clear indoor isolation valve, or the pipe runs through a shared space, a qualified plumber can help. For older tenement pipework and shared or old pipe issues, read our practical plumbing repairs guide for Victorian tenements, which covers when to call an emergency plumber.
Watch out: Do not assume one shut-off valve controls every outside tap. In some properties, one valve serves several outlets, so turning it off may leave another tap live.
What to Do If an Outside Tap Is Frozen
If a tap or pipe is already frozen, do not force the tap open or apply direct heat with a naked flame. Instead:
- Let the frozen area thaw slowly at room temperature if you can reach it
- Apply warm, not boiling, cloths to the outside of the pipe
- Check for leaks or cracks as the pipe thaws
- Call a plumber if the pipe is damaged or you cannot get water flowing again
A burst pipe can cause water damage quickly, so turn off the isolation valve as soon as you spot a leak.
Booking a Winter Check With Castle Rock Plumbing
Preparing outside taps is a job many homeowners can do themselves. If you would rather have a professional check the work, Castle Rock Plumbing heating and renewables can help. Our Gas Safe registered engineers can check your outside taps, pipework and boiler before the cold sets in.
For a winter check, call us on 07803 564365 or email chris@castlerockplumbing.co.uk to arrange a visit. You can also make a boiler servicing enquiry if you want your heating checked at the same time. If your pipework needs general repairs, see our plumbing repair services in Edinburgh. Not sure we cover your postcode? Check our Edinburgh and the Lothians coverage.
Frequently Asked Questions
Do I need to winterise my outside tap?
Yes, if you live in Scotland it is worth preparing an outside tap before the first hard frost. Water left in the tap and the pipe feeding it can expand as it freezes, which can split the fitting or the pipe behind the wall. Isolating the supply, draining the tap and insulating exposed pipework takes under an hour and costs very little. Leaving it until a cold snap arrives often means the job is harder, because the pipe may already be frozen.
What should I do if my outside tap is frozen?
Do not force the tap open or apply a naked flame or heat gun to it. Start by checking whether water is still flowing from the tap at all. Wrap the tap and exposed pipe in cloths soaked in warm water, or use a hot water bottle, and let the heat work gradually. Once it thaws, open the tap to check for leaks. If there is no water at the tap, or you find a crack or drip, turn off the indoor isolation valve and contact a Gas Safe registered plumber, as a burst pipe can cause serious damage quickly.
Should I turn off the water supply to an outside tap?
Yes. Turning off the supply at the indoor isolation valve means the outside tap cannot refill with water after you have drained it. Find the valve on the pipe that feeds the outside tap, usually where the supply enters the house or in a cupboard near the kitchen sink or utility room. Turn it clockwise until it stops, then open the outside tap to release the remaining water. Leave the outside tap open over winter so any trapped water can expand without cracking the fitting.
How do I insulate an outside tap?
Fit a purpose-made tap cover or wrap the tap body and exposed pipe with pipe insulation sleeves, securing them with insulating tape. Foam pipe insulation works well on straight runs of pipework, but it must be fitted tightly with no gaps. Cover the whole assembly with a weatherproof cover so rain cannot soak the insulation and reduce its effectiveness. Check the insulation before each cold spell and replace any that has become wet, torn or loose.
